Wednesday, April 18, 2012

Applying imprints on objects using warp

This technique is really popular among image editors that edit a lot of special order imprint stuff. These images are usually used for company giveaways and promos. I can't remember how many of these images I do every month! The technique I am going to teach can apply to both images and text that are placed in an image.

Difficulty: easy to medium

(for windows users, substitute the Command key with the Control key, the Option key is the ALT key)

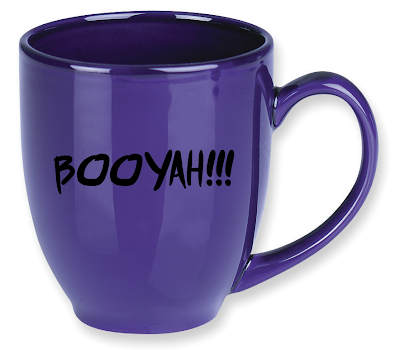
Ok lets start off with an image of a coffee mug. Open it in photoshop.
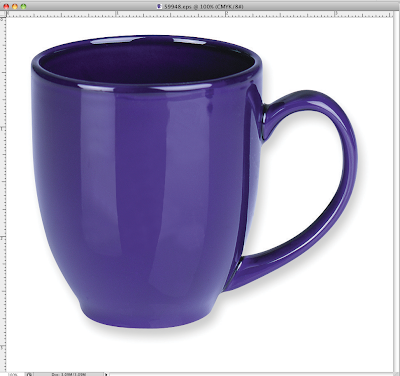


For this example we are going to use only text for the imprint. As I have said, you can use an image or text for this technique.
Press "t" on your keyboard or go into the tool box and select the horizontal type tool. By default photoshop shows this as a first option when you install photoshop. There's also the vertical type tool etc. These other options can be accessed by pressing and holding the tool with your mouse.

When the cursor changes into a typing cursor, type whatever imprint you want to put into the image.
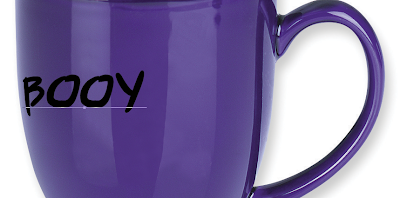

For this exercise I am going to type BOOYAH!!!

After typing the text, click on another tool or press the "enter" key in your numeric keypad to exit out of the typing tool and finalize your type.


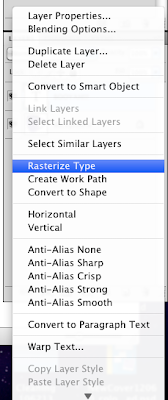
Next, go to your layers palette and then right click on the text layer that you just created. A menu will pop up and you will select "rasterize type". Unrasterized type cannot be edited using the warp transform feature so you'd have to rasterize the type first. Rasterizing the type means that the type will now be converted as an uneditable graphic. Uneditable meaning you are not going to be able to edit the type on it anymore, but it becomes a graphic instead so you can do transformations on it.


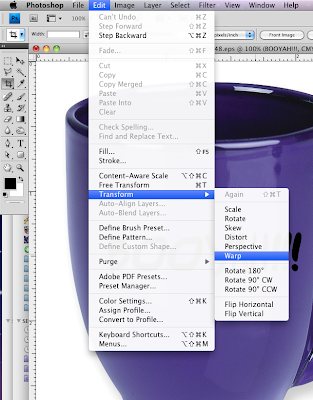
Now your type is ready to be transformed anyway you like it. For this exercise, we are going to use one of the most useful features in Photoshop called "warp". Make sure you have your type layer selected then go to Edit> Transform> Warp.


When you click on warp, the type layer that you just created will now show transform handles. These handles enable you to warp or deform the layer that is selected to however you want. You can warp the image by dragging a control point or by dragging a segment of the selected layer.
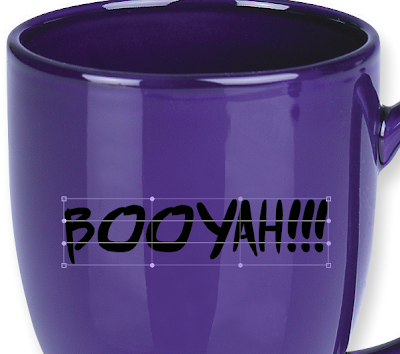


For this exercise I will just drag the 3 middle segments of the type layer downwards a bit to conform to the contour of the mug. After dragging them down, the type layer looks like this, with the transform guides showing what I have just transformed.
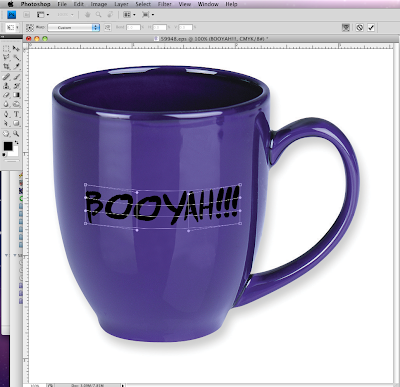


I press enter to finalize the transformation I just did. Then the control handles go away.

The type now looks imprinted on the cup because it's now contoured to the curve of the cup but it's not quite done yet. The part of the cup where the imprint is has a highlight on it. Naturally the type should have highlights too to make it look more natural. To do this, I selected the highlights in the cup that touches the imprint. You can select it by using the lasso tool (l) or the Pen tool (p) then making a selection from the paths.
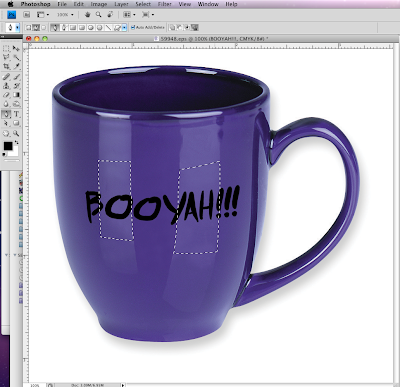


With the selection on, I go to my layers palette and click on the create a new layer button at the bottom right of the palette. It's next to the delete layer button. We are now going to create a highlight using a layer on top of the imprint layer. This enables us to make adjustments to the highlight without affecting the other layers. I then press "i" or select the eyedropper tool from the tool box. I then select an area of the highlight in the cup near the imprint area...this changes my foreground color swatch to that of the highlight color of the mug. I now press Option+delete on my keyboard or ALT+backspace for windows to fill up the selection on the current layer. The Option+delete shortcut is the fill with foreground command for the keyboard...you can always go to Edit>Fill menu on the top. This then fills up my selection with the highlight color that we just selected.
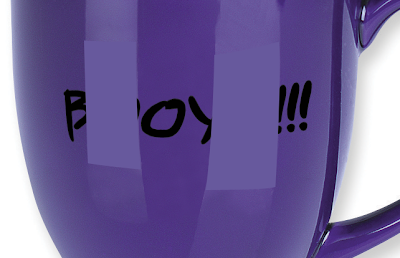


After filling the selected area with color, go to the layers palette then while holding the command key, hover on the type or imprint layer then click. This will give us a selection just for the imprint layer.
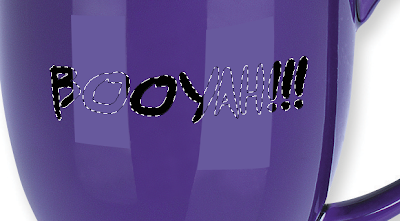


With the layer with the color for the highlight selected press Command+Shift+I, this will invert our selection. For the long way, go to Select> Inverse on the menu.

While selected press delete on the keyboard to delete the color around the imprint.
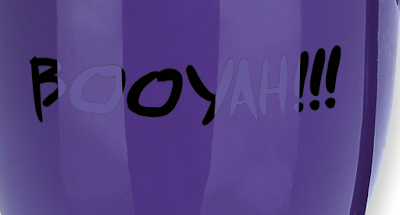


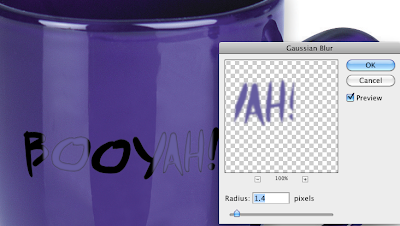
The highlight now looks pretty crisp. We need it to look more natural, meaning it has to blend in with the imprint. To do this we go to Filter> Blur> Gaussian blur on the menu.


A menu for the filter will pop up and now you can adjust the effect by moving the slider. It all depends on your taste. Play around with it then click ok when you are done.


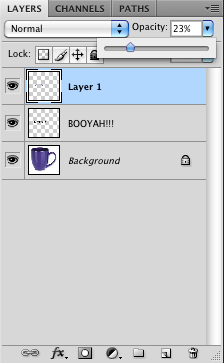
Were just about done...to make the highlight blend in more, I went in to the layers palette then adjusted the layer opacity of the highlight to blend it in more naturally.


After the highlight has been blended in the imprint looks 10 times better now. Here's our final image


Save and were done!

Wednesday, April 11, 2012

Easy fix for overblown whites

Once in a while you get an image with overblown highlights...which means the whites areas are 100% white...which means the pixels in that particular area has no data or has no color in it. This poses a problem when the image is to be printed out since no data is in that particular area, the white will show up as the paper color, since the printer has no data for that area it just leaves it blank. Photographers fix this problem by underexposing their shots a bit to retain the data in the area. Since this is sometimes unavoidable, here's a quick fix for it.

Difficulty: easy to medium.

(for windows users, substitute the Command key with the Control key, the Option key is the ALT key)

Open up the overexposed image


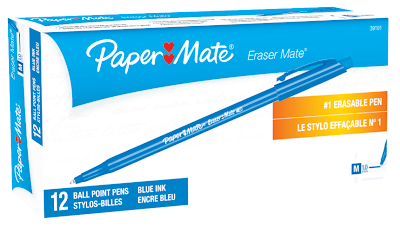
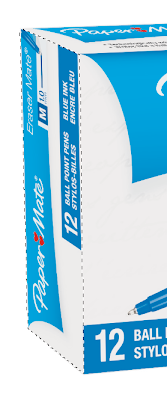
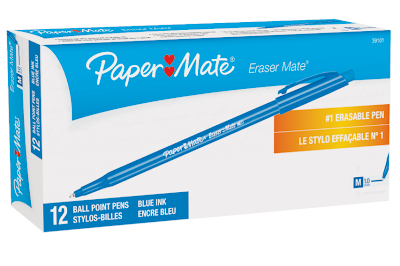
Since this image has overblown highlights, the white parts of it blends in with the white background. It looks like the labels are just floating in the air instead of imprinted on the box.

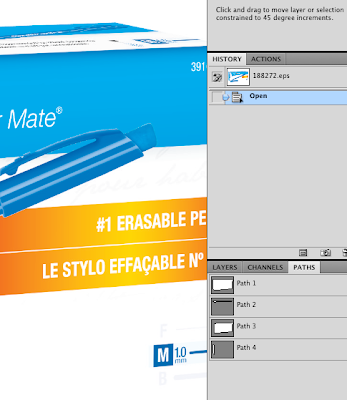
Next is to go into the Paths tab and check if the item has a path for the image. If it does not have one, you would have to create one for it by using the pen tool.


After locating/creating the path for it, hold the command key and hover your pointer above the corresponding path for the image and then left click on your mouse. You'd see the cursor change into a hand with a selection box. This means that when you click, the corresponding path will become the selection for your image.


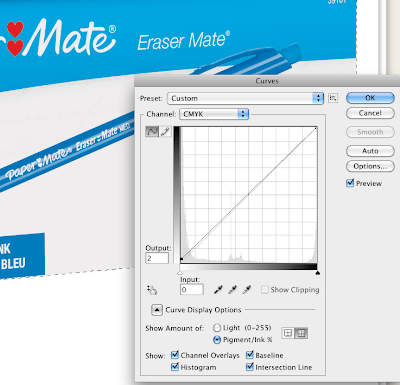
With the outline of the image selected...open up your curves adjustment window, or simply press command m on your keyboard. Since this image is in CMYK mode, go to the bottom left node of the curve adjustment and increase the value of it by 2...this will be displayed by the output window. If the image was in RGB mode, you would have to grab the upper right node instead of the lower left one. The part of the image that was selected will now display a slightly darker tone. Adjust your node to your desired taste. I usually start out by 2 then gradually adjusting it.

By doing this step, you are actually adding cyan, magenta, yellow, and black values to the selected parts of the image. Same with RGB, with this step you'll be adding values for red, green and blue. This actually adds color to your image.


Click ok to exit out of the curves adjustment window and apply your adjustment.

To add a bit of depth to the image, select a part of it that you would think would be darker to the rest of the image, in this case I selected the side of the box.


From lesson 2, we will apply the same thing.

On your keyboard press Command+Option+M. This will bring out your curves adjustment with the last inputted value still in it. Since we added 2% of the cmyk values the last time, doing it again will add another 2% to the selected area of the image.


By adding another 2% on the selected area, it will now be darker from the rest of the image. Click ok to apply the adjustment.
Again...if you want it darker, go more than 2%. It all depends on your taste.

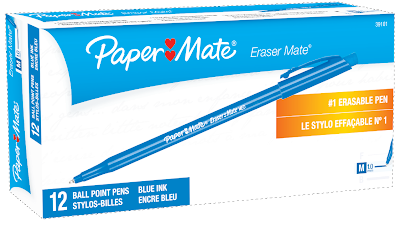
The final image now shows a better box that is not blending in with the white background, with a little bit of depth. Save your image then close.

Wednesday, April 4, 2012

Keeping your adjustment settings for multiple images

Editing multiple images with the same color cast can be a hassle. In my experience as an image editor, I come across a ton of images that have a color cast in them. 80% of them usually a magenta color cast. Here's a technique that will save you a lot of time editing images that have the same color cast in them.

Difficulty: beginner

(for windows users, substitute the Command key with the Control key, the Option key is the ALT key)

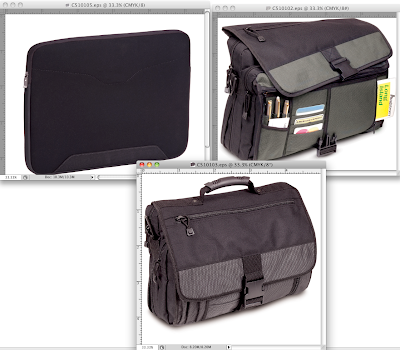
Open up multiple images that have the same color cast.


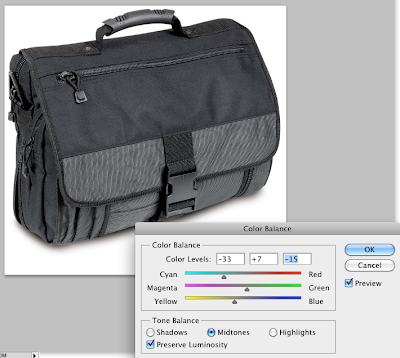
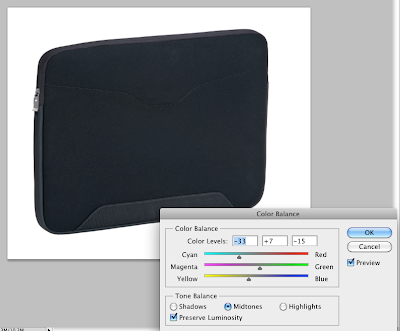
Each one of these images have an ugly magenta color cast in them.

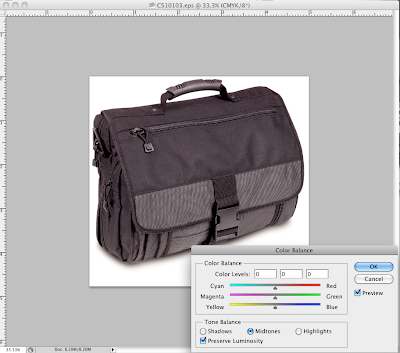
Select one image and then open up your Color Balance adjustment window.


Do your adjustment. For this image I adjusted the cyan/red slider to -33, magenta/green to +7, and yellow/blue to -15. Basically you'd have to eyeball the adjustments that you make. For this particular image the adjustments that I made are pretty much on the dot. I then clicked ok. I then saved the image and closed.


I then go to my next image and pressed option+command+b on my keyboard. The Color Balance adjustment window appears with the same exact values that I made the last time I opened it.


Same as the last time, I click ok then save and close the image. I go to my last image then pressed option+command+b on my keyboard again to open up my Color Balance adjustment window with the same values. Same thing, click ok, then save then close...and so on so forth...

Command + B opens up the Color Balance adjustment window, Command + L opens up the Levels adjustment window, Command + M is for the Curves window and so on...

When you make an adjustment, photoshop records this adjustment until you change it. To access the last value you entered or made, you combine the shortcut key that corresponds to the adjustment window with the "option" key. So for Levels, it's Option+Command+L, for Color balance it's Option+Command+B...and so on...This saves you a lot of time from opening up an adjustment window then making your changes all over again.

Mastering the shortcut keys for adjustment windows makes this technique awesome. This is really helpful for editing a batch of images with the same adjustment needed.